How to fake good food photography in restaurants and at night-time
Sometimes when I am in a restaurant I would just love to take a gorgeous photographs to represent the beautiful craft that has been presented to me on to my plate. And of course to post it on my blog and Instagram and Facebook to tease anyone hungry over on the other side of the screen!
Have you ever tried to take a picture in a restaurant though? It just
never works. Never. The light is always too dark (damn those
restaurateurs for thinking about the mood and not my photographic food
porn art!) and the pictures always end up a bit yellow, a bit shaky, a
bit, well, just crap. So, I thought it would be nice to share a few little tips and how to take good photographs in dark restaurants and at night-time. In case you are a lifestyle blogger or just one of those annoying people
that posts their daily menu on Facebook every day, he he (no worries, I
won't judge, either way!).
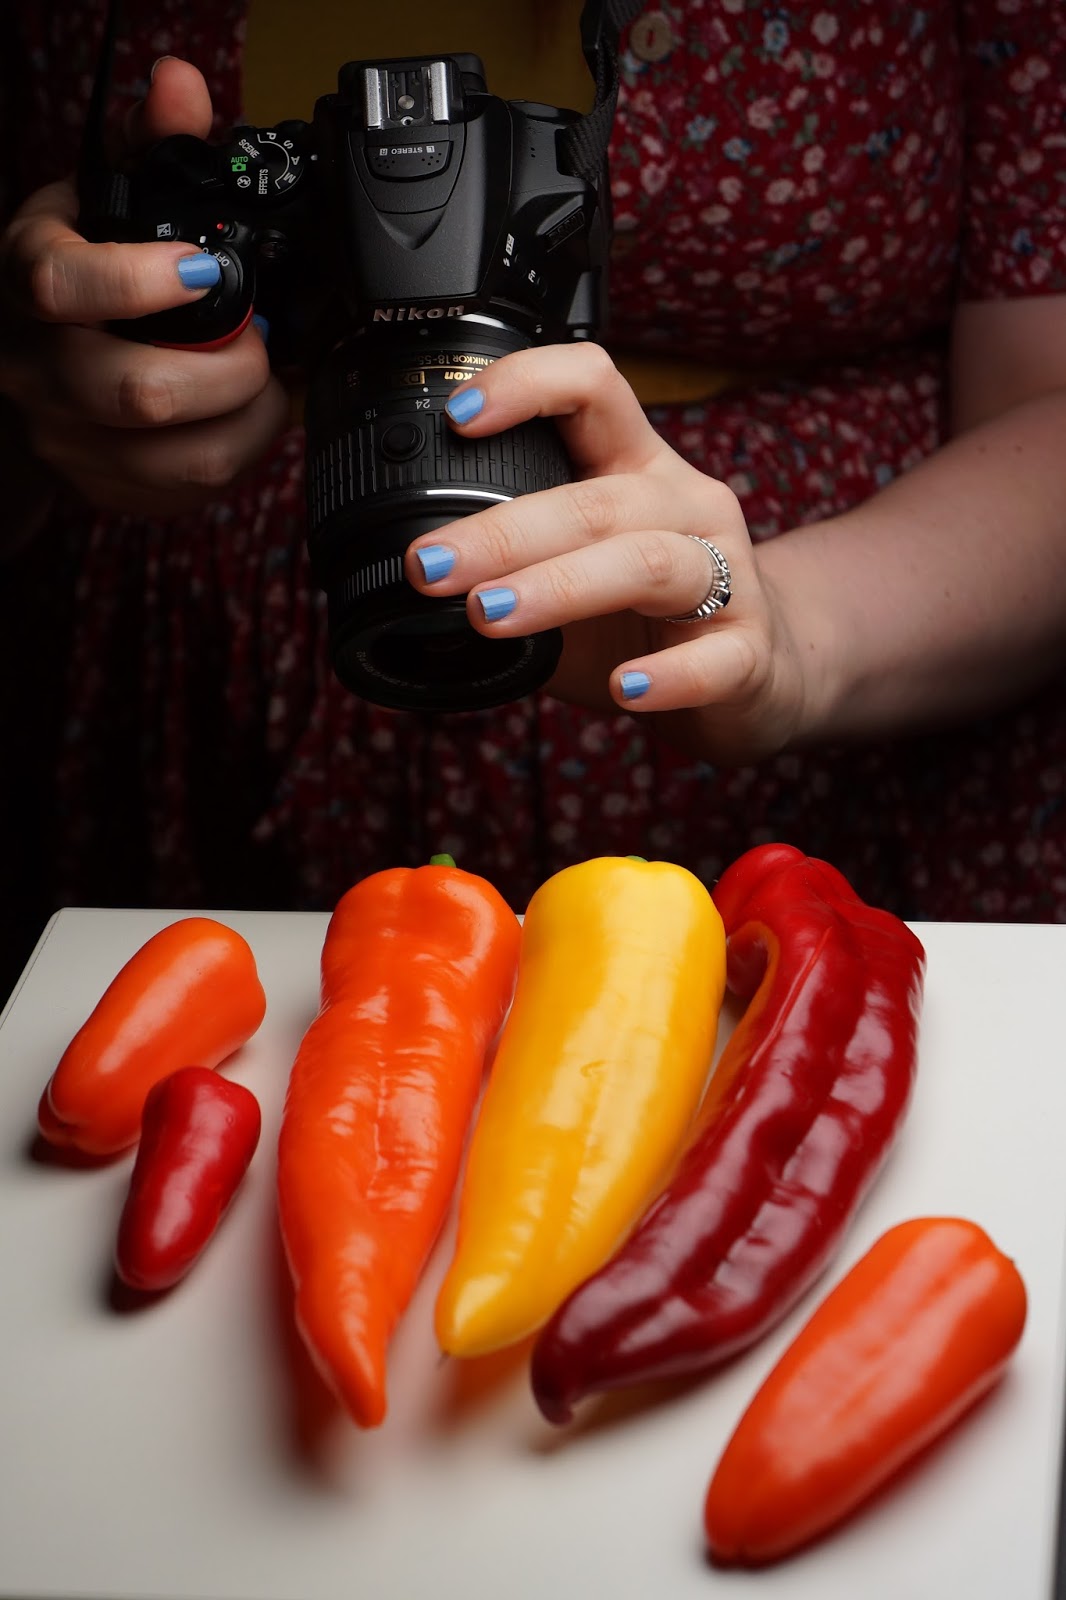
I recently popped by Nikon Photography School to meet up with Nikon
experts and Currys at a #LightsCameraCurrys
event where I was shown few
top tips to help me perfect my future food photography. While I would
like to think myself as fairly competent amateur, I did take away a very
nifty little trick, which will help me to take better pictures in
difficult light situations. So read on if you want a bit of help in this photography area.


First things first - ISO and shutter speed
ISO means the light sensitivity of your camera. So the more sensitive (e.g. the higher the number) the more sensitive your camera is to the light. Crank it up to 800 minimum (and preferably maximum too if you can). Unfortunately more than that will make the image grainy, so don't go crazy and go into the thousands!
With regards to shutter speed, you will need minimum 1/60 - otherwise photos will get shaky when you take them by hand (and I assume you won't want to bring your tripod, ha ha, now that would be a sight). Shutter speed means how long the image is exposed for.
Easy way to do this is select S-setting (a semi-automatic shutter speed setting) on your camera, change ISO into 800 (or more if you have to), and select a minimum of 1/60 speed setting. Go as high as you can!

Custom white balance
Now, this is the trick to correct for that mood lighting. The lighting in restaurants is often a bit yellow - and easy way to correct for that is to go to your custom white balance setting. You can find this in the menu, or under the menu options for light/colour/etc - depends a bit on your camera. Auto white balance often unfortunately just won't work well in difficult light situations like restaurants and night time.
Select custom white balance, point your camera towards the light source, center it on the circle and take a picture of it, click OK. This sets your custom white balance to the light source, and you can then take pictures of your food.
Alternatively, if you can find something pure white, place that next to the food and use the above steps, taking a picture of the white piece (whether that be table cloth, a business card etc.) rather than the light. This is a slightly better way than the above (particularly if there are multiple light sources), but requires you to be a bit more organised!

Alternatively, if you can find something pure white, place that next to the food and use the above steps, taking a picture of the white piece (whether that be table cloth, a business card etc.) rather than the light. This is a slightly better way than the above (particularly if there are multiple light sources), but requires you to be a bit more organised!
And after setting the ISO, shutter speed and the custom white balance you should have a decent enough picture, not too shaky and not too yellow.
And now, you only need to get over the fact that you are the silly bugger with a big camera in your hand, trying to take pretty pictures of food getting cold!
Hope that was helpful - do you ever take pictures of food in restaurants, or do you think it just looks silly?

Your tips are really good. Some tips from me=) Do not put out food in complete order, let it look naturally chaotic, it will give more life to your photos. Think about what makes attractive a particular dish and find a way to focus on this. And soft http://hdrprograms.com/hdr-lightroom-4/ will help you
ReplyDelete